
Google Virtual Try-On vs. Live Virtual Try-On: Photo or Webcam?
Compare Google’s photo try-on with live webcam try-on, then use a jacket test to check movement, garment details, and what to measure before buying.
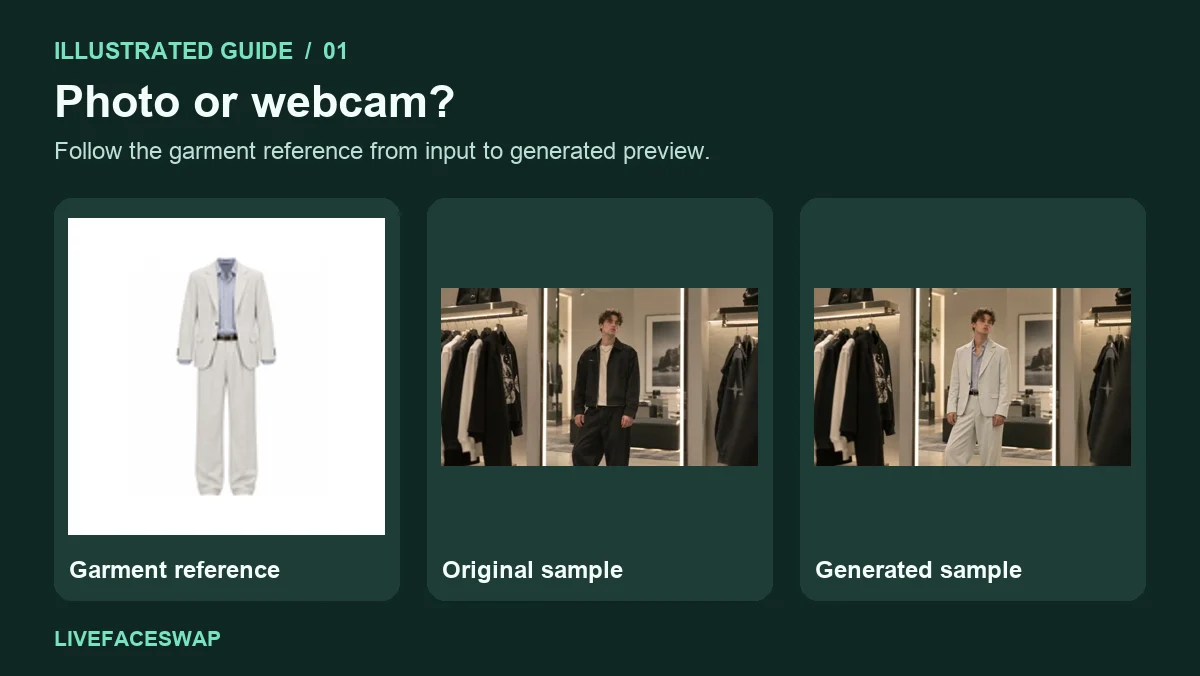
You find a jacket online and wonder how it would look over the clothes you already wear. Google Virtual Try-On gives you a generated image using a photo of yourself. Live virtual try-on gives you a different view. You open your camera, choose a garment reference, and watch the generated outfit update as you move.
The choice comes down to what you want to see. A still image lets you pause and compare colors or silhouettes. A webcam preview lets you turn your shoulders, lift an arm, or change your position and see how the generated look responds. If the decision is whether to order a medium or a large, pull up the retailer’s size chart before you buy.
How Google Virtual Try-On works
Start with an eligible clothing listing and look for the Try it on button. Google combines the garment from the listing with an image of you and generates a new picture. You can inspect the result at your own pace, save it, or compare it with another look. Eligibility depends on the item, your location, and your account. Google lists the current requirements in its help center.
A jacket comparison works best when you keep the source photo consistent. Imagine you’re deciding between a dark denim jacket and a light cropped jacket. Using the same photo gives you a common starting point for comparing how each color sits against the rest of your outfit and how each silhouette changes the overall look. A standing photo with clear lighting and visible arms gives you more to examine around the shoulders, hem, and sleeves.
Look at your original photo alongside the result. If a jacket appears longer than the listing suggests, check the product photos and garment measurements. A generated image can also alter your proportions or reinterpret clothing details. You can still use it to narrow down which style you want to explore.
What changes when you use a webcam?
With live virtual try-on, your camera supplies a continuous view of you. The garment image supplies the outfit reference. In the LiveFaceSwap try-on studio, you can choose a built-in look or upload a garment image you have permission to use. Open the camera to frame yourself, then start the try-on when you’re ready to see the generated outfit. The camera preview and AI generation have separate controls.
The useful part is choosing your next move while the session is running. Stand still for a moment to see the front of the jacket. Raise one arm slowly to see how the sleeve is represented near your elbow. Turn slightly to see what happens around the collar. If a seam shifts when your hand passes in front of it, you can repeat the movement or review a recorded clip to see when the shift occurs.
Think about the shot you actually want. For a waist-up video, pay attention to the neckline and shoulders at the distance you plan to film. For a full outfit, step back until the hem and lower body are visible. A short preview at the intended framing can tell you more about the look on camera than a close-up alone.
Illustrated guide using built-in LiveFaceSwap stills. The clip explains what to look for in your own session.
A still image, an animated clip, and a live feed
A video can show movement even when the person watching it has no control over what happens next. To tell which type of try-on you’re looking at, ask what the tool uses as input and whether it can respond to a movement you make right now.
| Format | What you provide | What you see | When to use it | | --------------------- | ----------------------------------------------------------------- | ------------------------------------------------ | -------------------------------------------------------- | | Photo try-on | A personal photo and an eligible item or garment image | A generated still image | Compare colors and silhouettes side by side | | Photo-to-video try-on | A photo or generated outfit image, sometimes with a motion prompt | A clip with generated movement | Explore how an outfit might read in a short fashion clip | | Live webcam try-on | An active camera feed and a garment reference | A generated view that updates during the session | Adjust your pose and framing while you watch |
Watching a finished clip can help you judge the look of that clip. To evaluate a live tool, keep the camera input and generated output visible together and make a movement of your own. Seeing both views gives you a way to connect a change in the result with the action that prompted it.
How to compare the same jacket in both formats
Pick one jacket with a clear reference image. A plain background and visible cuffs, collar, and hem make it easier to tell which details carry through. If you can use the same garment reference in both tools, keep the person, lighting, and starting pose as similar as possible. Otherwise, note the different reference images beside the comparison.
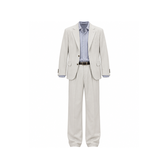
- Start with the front view. Compare the still result with a frame from the webcam preview. Look at the main color, where the hem appears to fall, and whether the jacket stays open or closed.
- Raise one arm. Keep your elbow and hand in view. Watch the cuff and shoulder while you move, then return to your starting pose.
- Make a small turn. Check what happens when the far shoulder becomes partly hidden. If the collar or buttons change, see whether they settle when you face forward again.
- Review a short clip. Pause at the moment a detail changes. Ask whether that change would matter for your purpose. A brief shift in a pocket may be easy to overlook when comparing colors, but it can matter if the pocket is the feature you want to show.
Write down one observation about the garment and one about the person. “The collar stays visible when I turn” tells you something about the shot. “My shoulder shape changes when I lift my arm” tells you to be careful about interpreting the generated silhouette. Use those notes to decide whether you have a useful style preview or need another run with a clearer reference.
Can either preview help you pick a size?
Use the generated look to decide whether you like the color, proportions, or styling direction. For size, start with your measurements and the seller’s chart. A jacket can look roomy in a generated image even when the real garment would pull across your shoulders or leave too little space for a sweater. If the retailer provides finished garment measurements, compare them with a jacket you own and like wearing. Look at shoulder width, chest width, and sleeve length in particular.
Customer photos and reviews can help when a product sits between two sizes. Look for comments about how the sleeves run or how the jacket feels when layered. The preview helps you decide whether the style is worth a closer look, and the product details help you decide what to order.
Quick answers before you try it
Does Google Shopping Try-On follow me as I move?
The Google Shopping workflow described here generates an image from a personal picture. Choose live webcam try-on if you want the preview to update when you change your pose.
Can I see what my webcam captures before using credits?
On LiveFaceSwap, you can select a garment and open the camera preview before starting generation. Starting AI try-on requires signing in with available credits. The page shows the rate before you start.
Can I keep a video of the result?
You can record the generated view and save the clip from the browser. Use Stop when you’re done generating, then replay and save the recording before leaving the tab.
If your question is how the jacket looks while you move, open the live try-on studio and start with one clear outfit reference. Face the camera, lift one arm, and make a small turn. Those three views give you a short clip you can compare with a still image at your own pace.