
How to Choose a Reference Photo for Live Face Swap
Choose a live face swap reference photo with a clear face, even lighting and a useful crop. Compare two photos with one movement script and check upload limits.
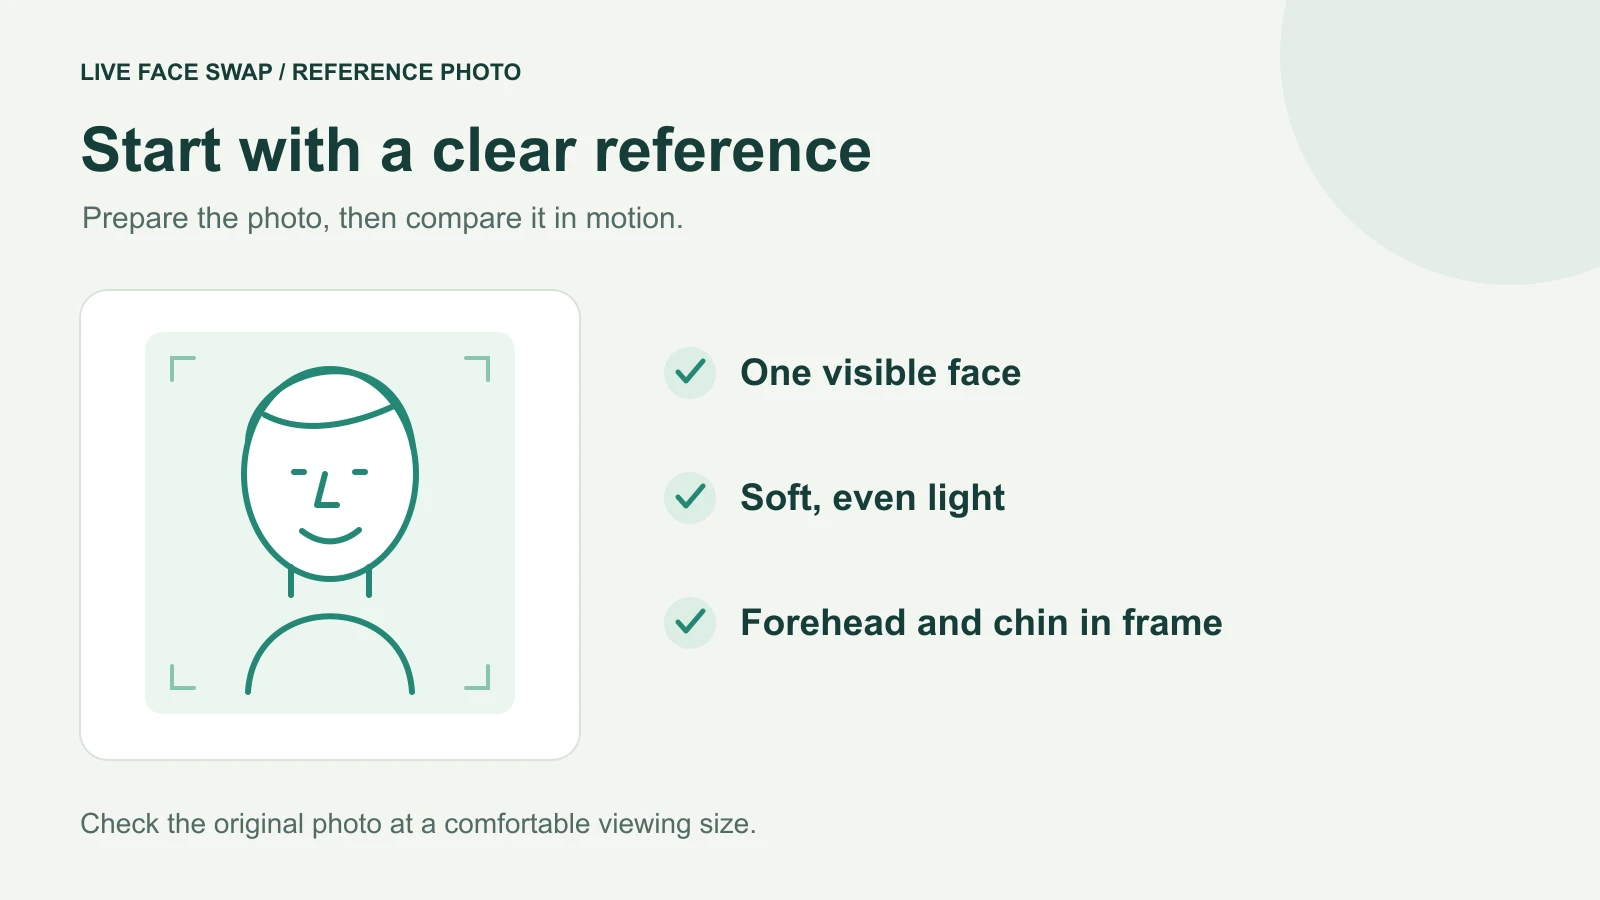
A useful live face swap reference photo shows one clear face, with even light and enough space around the forehead and chin. Start with a readable, lightly edited portrait, then test it with the same short set of movements. Choose the photo that works for your intended look when you speak and turn, as well as when you face the camera.
This guide covers choosing and uploading a reference in the live browser studio. You can begin with a built-in look, then compare two authorized portraits of the same person. Keep the engine, camera position and lighting consistent so the comparison tells you something about the photos.
What does the reference photo control?
The reference supplies the appearance you want the generated video to follow. Your live camera supplies the ongoing scene and movement. Selecting a thumbnail lets you check which look is chosen. Generation starts after you open the camera, sign in, review the rate and select Face Swap.
Decide what you want to change before selecting the photo. LFS Prism uses character replacement, so hair, clothing and other parts of the appearance may change with the character. LFS Mirror's Face Swap mode is configured to focus on the face while preserving the original body, clothing and scene. Review the result against the goal of the selected mode. These are the modes' intended behaviors, and individual frames can vary. Compare face replacement and whole-character changes.
A reference also works together with the edit the model is asked to make. Decart's reference gallery organizes character, clothing and other edits separately. In this studio, choose the appropriate effect and engine before comparing photos. Decart reference-image examples
Pick a photo you can judge clearly
Keep one face easy to see
For a human likeness test, start with a single person facing the camera or turned slightly. Check that both eyes, the nose and the mouth are visible. A relaxed expression gives you a useful starting point for judging what changes when you smile or speak in the live result.
Open the original image at a comfortable size. Look at the facial details rather than the attractiveness of the overall photograph. If the face looks smeared, heavily compressed or out of focus, choose another original. A larger file can still contain a tiny face, so inspect the person within the frame as well as the image dimensions.
Use even light and visible features
Choose lighting that lets you see both sides of the face. Soft front or slightly angled light is a practical starting point. Strong backlighting, deep shadows across an eye, or bright areas that erase skin detail make the reference harder to assess. If you can take a new photo, face a soft light source and check the image before uploading.
Keep eyes and the mouth visible. Hair across the face, a hand over the cheek, a mask or dark sunglasses can hide the features you want to reproduce. For your first comparison, use a photo with those details visible. Once you have a working baseline, you can try a more stylized reference and review it against that baseline.
Leave a complete face in the frame
A head-and-shoulders crop is an easy starting point. Keep the forehead and chin inside the image and leave a little space around the face. For a character look, retain the hair or visible design details that matter to the appearance you want. Crop away unrelated people and distracting material while keeping enough pixels for the selected engine.
An extremely tight crop can leave you unsure whether a missing hairline or jaw edge came from the source image or the generated result. Start with a complete face and adjust the crop only when you have a specific reason to test it.
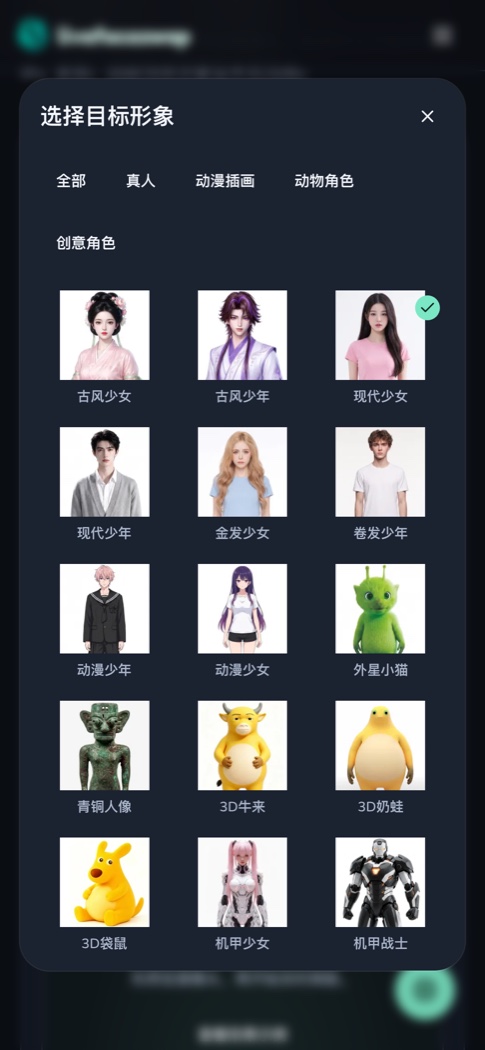
The mobile gallery, shown in Chinese. Check which reference is selected before starting a test.
Photos that make comparison difficult
- Group pictures. Pick a portrait with one clear subject, or crop to the authorized person you intend to use. Uploading one file does not explain which person in a group you meant.
- Very dark or overexposed images. Choose a better-exposed original where eyes, mouth and facial contours are visible. Brightening a file is worth checking, but inspect whether detail is actually present.
- Strong beauty or face-shape filters. Start with an unfiltered version so you can judge which features belong to the person. Use a deliberately stylized version when that altered appearance is the target.
- Small screenshots or compressed reposts. Return to the original photo when possible. Enlarging a small face changes its size without recovering the detail lost from the source.
- Severe side profiles. Begin with a frontal or gently turned portrait. A strong profile hides part of the face and makes a first comparison harder to interpret.
These are practical ways to prepare a clearer test. Photo choice is one part of the result. The live camera's exposure, movement, the selected engine and the connection also affect what you see. If every reference behaves similarly, check those shared conditions before collecting more portraits.
Compare two photos with the same movement script
Choose Photo A and Photo B of the same authorized person. Label them clearly on your device. Keep the camera position, light, browser and AI engine the same. Use a similar crop for both if the difference you want to test is the photograph itself.
The live studio uses your current camera feed, so you will repeat a short script for each reference. Small performance differences remain possible. Compare the matching actions in the saved clips and repeat a short test if the difference is unclear.
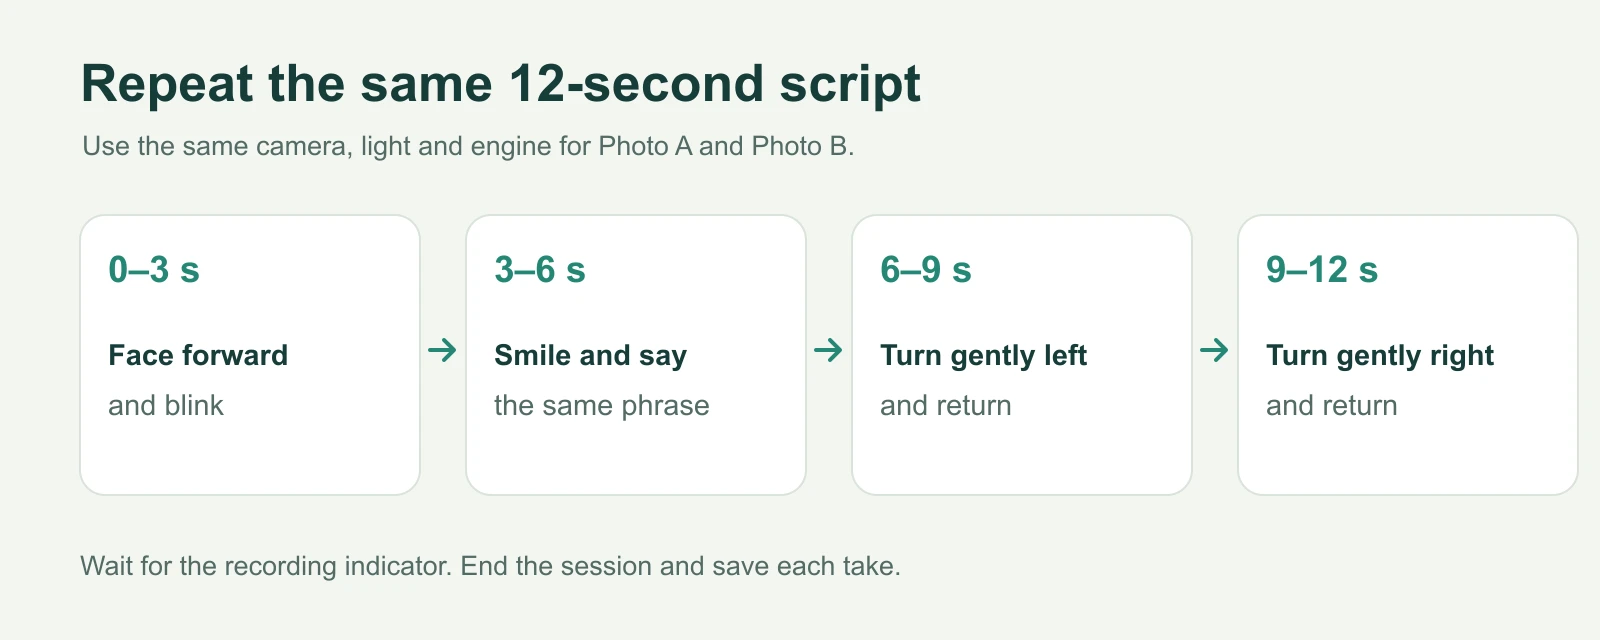
A suggested comparison script. Start timing when the recording indicator appears.
- Load Photo A. Check the selected thumbnail, open the camera and review the engine rate. Start Face Swap and wait for a moving AI result. Generation uses credits, so keep the comparison takes short. Check current rates.
- Start your script after the recording indicator appears. Microphone setup can delay recording. Keep the same microphone choice for both takes if you plan to compare speech.
- Repeat a 12-second sequence. Face forward and blink for the first three seconds. Smile and say the same short phrase for the next three. Turn gently left and return to center, then gently right and return to center, taking three seconds for each side. Keep the face in view.
- End and save the take. Choose End session, replay the clip and download it as your Photo A test. Save the recording before replacing the reference or leaving the tab.
- Repeat with Photo B. After the session ends and the clip is saved, select the second reference and repeat the same actions. The workbench keeps reference changes locked while the camera or session is active and while a clip needs saving.
Review the eyes, mouth and face outline while facing forward, speaking and returning from each turn. Note which reference keeps the appearance you want through those actions. For a Prism character, also review the hair and overall character design. A simple note such as “A looks closer at center, B holds the mouth shape better during speech” is more useful than deciding from one still frame.
Check the file before uploading
The live webcam reference picker currently accepts the following files. The selected engine's upload hint is the place to check if a file is rejected.
What to check | Accepted file |
|---|---|
File types | JPG/JPEG, PNG or WebP |
File count | One reference image at a time |
File size | Up to 4 MB |
Total image pixels | Up to 16 megapixels |
LFS Prism minimum | 128 × 128 pixels, with both dimensions meeting the minimum |
LFS Mirror minimum | 512 × 512 pixels, with both dimensions meeting the minimum |
The dimensions are upload thresholds. For a useful portrait, also check the detail in the face itself. If you crop a large group photo, check the dimensions of the cropped file. If a phone image is in HEIC or another format, export a real JPEG, PNG or WebP copy before uploading. Changing only the extension leaves the original file format in place.
Upload one reference at a time and check that its thumbnail appears. You can choose a built-in look to confirm the selection workflow before trying your own file. A rejected upload and a generated result you dislike need different checks. For camera, connection or generation errors, use the live face swap troubleshooting checklist.
Confirm permission and the intended use
The site is intended for adults. Use a portrait of yourself or an adult who has explicitly authorized the use of their likeness. Confirm that you have permission to use the photo and the person's likeness for the transformation and the way you intend to share it. A public social-media picture or an image license can leave questions about the depicted person's permission, so resolve those before starting. Read the site's likeness and use rules.
When you start generation, the selected model service processes the reference and camera frames. Review that data flow before choosing a personal portrait. Read the privacy notice.
Once you have an authorized, readable reference, make a short test and save it. Use the same script for the next candidate, then keep the photo that suits the expressions and movements you actually plan to record. Follow the recording and download guide.