
Live Face Swap Not Working? A Step-by-Step Checklist
Live face swap not working? Check camera permissions, login, credits, connection, short sessions, recording and downloads in this browser troubleshooting guide.
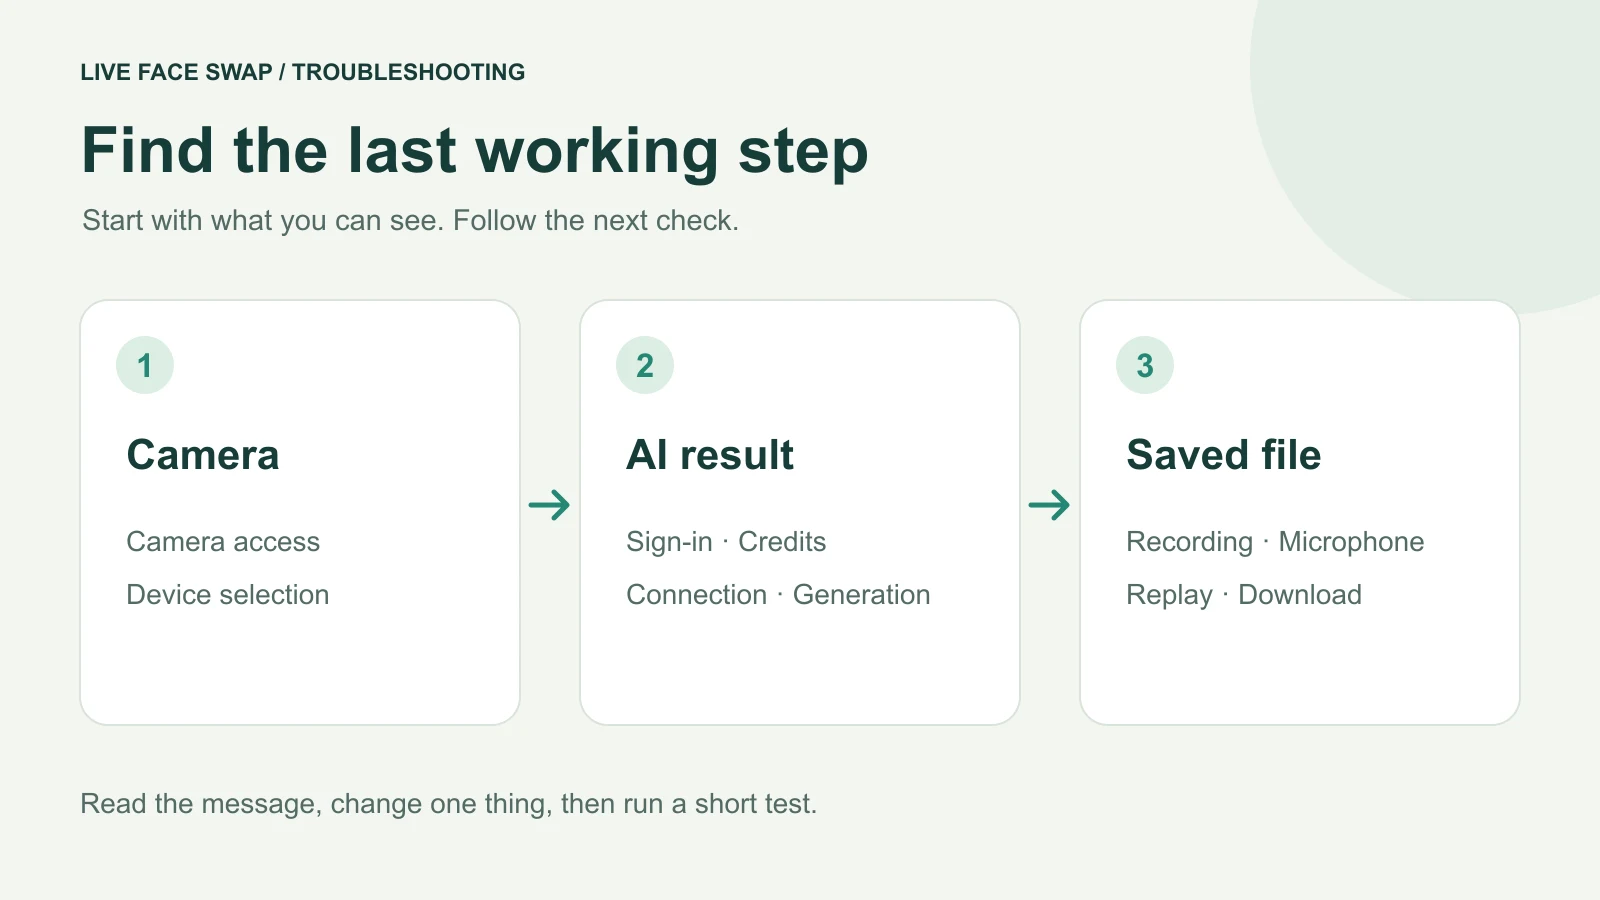
If live face swap is not working, find the last step that succeeded. Can you see your camera, a moving AI result, or a completed recording? Each points to a different set of checks. Start with the closest symptom below and change one thing at a time.
This checklist follows the browser studio at live-face-swap.net. It covers camera access, sign-in, credits, generation and local recordings. Keep the page open if a clip still needs saving. Before refreshing or trying another setup, download any completed recording you want to keep.
Find the step that needs attention
Step | What you see | Next check |
|---|---|---|
Camera | No original camera picture | Site permission, system permission and selected device |
Sign-in | A sign-in or expired-login message | Sign in and return to the studio |
Credits | An insufficient-credit message | Available balance and the selected engine rate |
Connection | Uploading or connecting without a result | Exact error, network and session cleanup |
Generation | Original preview, unchanged appearance | Start Face Swap and watch the live result |
Recording | AI video moves, but no clip is captured | Microphone prompt, recording support and indicator |
Download | Clip ready, but no saved file | Browser downloads and Open video |
Work down this list until you find a step that works. For example, if your original camera image moves normally, start with generation. If the AI picture moves but the recording is silent, check microphone capture and playback volume.
No camera picture
Allow the site and browser to use the camera
Open the studio directly at its HTTPS address and select Open camera. Respond to the camera prompt. If you previously blocked it, review this site's camera permission in your browser settings. Then check whether the operating system allows the browser to use the camera. Browser camera access requires a secure page and permission. MDN camera access requirements
In desktop Chrome, open Settings → Privacy and security → Site settings → Camera. Review the permission for live-face-swap.net and select the intended default camera. If a work or school device locks those settings, ask its administrator to review them. After changing a permission that requires a browser restart, first save anything you need from the open tab. Chrome camera settings
Check the device and competing applications
Uncover the lens and open any physical privacy shutter. Reconnect an external webcam and confirm that the computer detects it. Close other camera tabs or video applications, then try Open camera again. With several cameras connected, check the browser or system device selection. A disconnected USB camera or an unintended virtual camera can explain an empty preview.
If the camera also fails in another trusted application, investigate the device or system permission first. If it works elsewhere, return to the browser's permission and selected device. The workbench's camera-unavailable message covers several possible causes, so record what you tested before moving on.
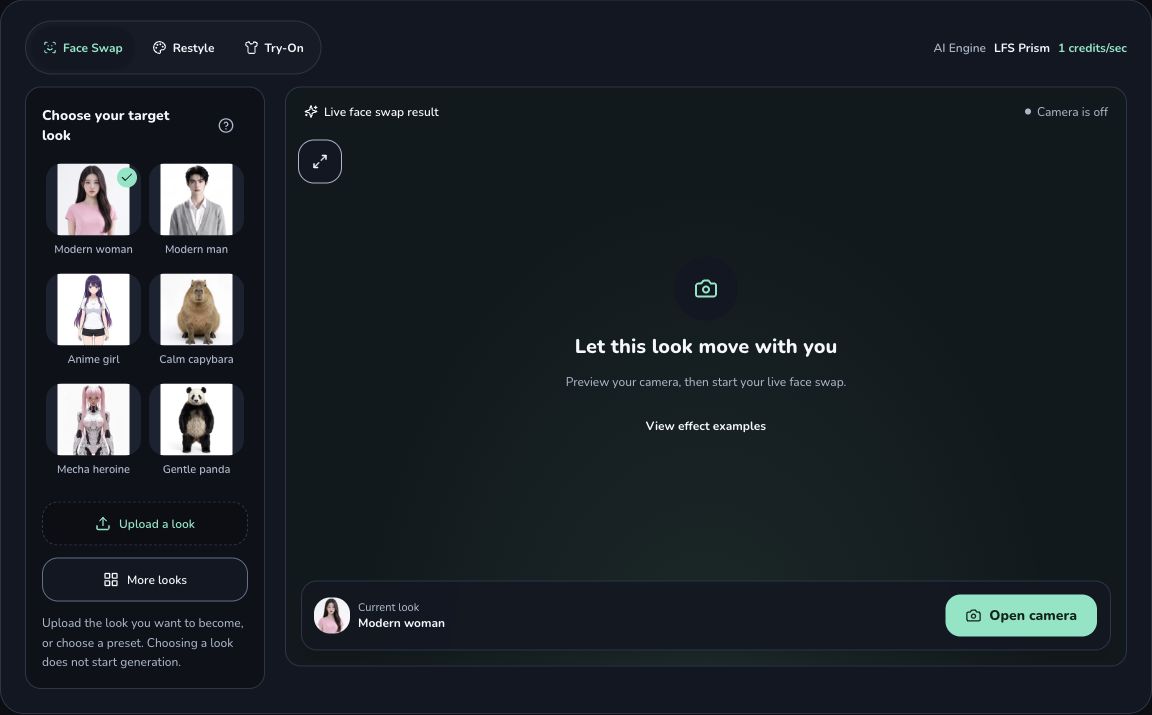
Check the camera preview first, then use Face Swap to start generation.
Original camera image appears, but the face stays the same
Start generation after previewing
Open camera starts a free local preview. Choose your reference, sign in, check the rate and select Face Swap to start AI generation. Watch the workbench status until the processed picture moves with you. The selected reference thumbnail shows the look you chose. Use the large live result area to judge whether generation has started.
Check sign-in, credits and the reference
If your login expired, sign in again and return to the studio. Review your available credits and the selected engine's rate. Available generation time depends on both. Wait for an earlier session to finish settling if the workbench says it is still active. Follow the shown recovery or Retry stop action before attempting another session. Check current rates and credit rules.
If an uploaded portrait is rejected, read the file hint for the selected engine. Check its format, size and dimensions. To isolate an upload problem, try a built-in look you are comfortable using. If that starts successfully, return to your own image and correct the reported requirement. Keep the lighting and camera position consistent between tests.
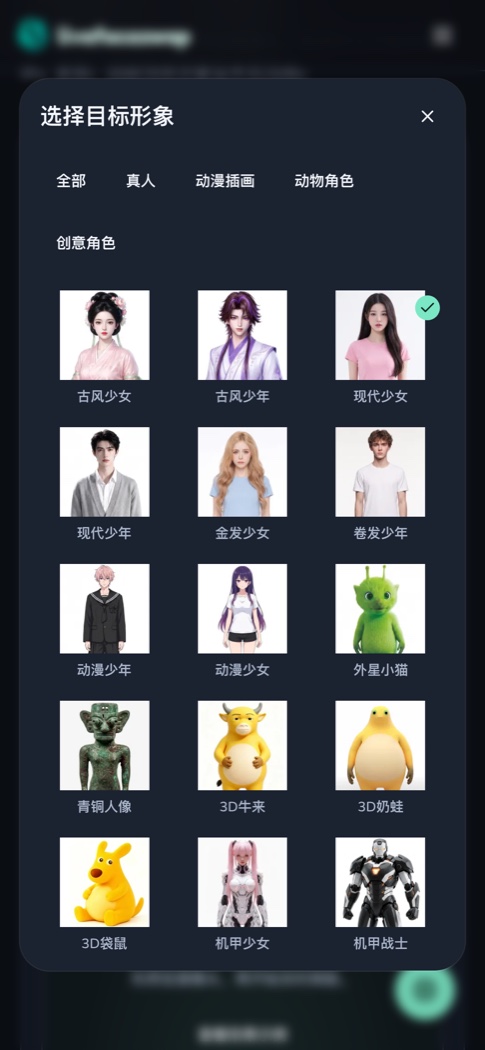
The mobile picker, shown in Chinese. Try a built-in look when checking an upload problem.
Read the message before retrying
A connection timeout, an expired login and an unavailable model service need different responses. Copy the exact message. If it says generation is disabled or the model service is unavailable, wait or contact support. If it reports a model-service capacity or credit issue, include that wording when asking for help. Check whether a message refers to your own credits or the service before deciding your next action.
For a connection failure, check that your device is online and the page has completed cleanup. On a managed network, ask whether live video connections are permitted. If available, try one short session on another trusted connection. Keep the same reference and engine so you can compare the outcome.
The result starts, then stops after a few seconds
Distinguish switching tabs from leaving the studio. Switching tabs or applications and minimizing the window do not automatically stop camera preview or AI generation. Generation continues to use credits in the background, so end the session when finished. Closing or reloading the page, leaving the studio, or losing the connection can still end it. Locking the device or allowing it to sleep may interrupt camera or network access. Save any completed clip before leaving.
Check network and camera continuity. Going offline ends the session. An unplugged camera or a camera track that ends also triggers cleanup. Note whether the stop coincided with changing networks, disconnecting a device or opening another camera application. Reconnect the device or restore the network, then try one controlled test.
Review the available AI time. A session can end when its allocated credit budget or temporary access expires. Read the ending message, check the engine rate and wait for usage reconciliation. A short session by itself does not identify the cause. Compare the message with what happened on screen.
Check whether only recording stopped. A recorder memory limit can finish the clip while AI generation continues. Look for the recording save bar and the live session state. Save the available video. When you are done using AI, choose End session. If Retry stop remains, use it and wait for confirmation. A closed camera can appear while server usage is still being reconciled.
The AI result works, but recording or saving fails
Recording has not started
Recording begins automatically when a generated stream is available and microphone setup is resolved. If the page says Waiting for microphone permission, respond to the browser prompt. Wait for the recording indicator before performing. If the browser reports recording is unsupported, try a browser with video recording support and test a short clip.
If recording fails while the live result is still running, use Record again when that control appears. Save a completed clip before replacing it. A message saying no frames were recorded is a reason to wait for a moving AI result and retry the capture.
The clip is silent
Camera and microphone permissions are separate. If microphone access is declined or the input is unavailable, video can still be recorded. Check the clip's With audio or No audio label. For a clip with audio, check player mute, volume and the output device. For a clip without audio, allow a working microphone and record another take. The recording contains the input captured by your microphone.
Download was requested, but the file is missing
Choose End session, wait for the completed recording and replay it. Use Show recording options to replay after the live session ends. Select Download, then check the browser's download list and the device folder you selected. Open the saved file outside the workbench. If saving fails while the original tab is still open, try Open video and use the browser's save or share action.
The recorder may produce MP4 or WebM according to browser support. Check that your player or editor accepts the actual format. A filename change alone leaves the encoding as it was. Keep the playable original if you convert it. Temporary recordings live in the current tab, so save before refreshing or closing it. Follow the illustrated recording and download guide.
Send a support report that identifies the failed step
If one controlled retry still fails, send the details below. Include a session identifier if one is displayed or already available to you. If you cannot find it, give the time and time zone of the attempt so support can locate the event.
- Device model and operating system.
- Browser name and version.
- Selected engine and whether you used a built-in look or an upload.
- Last working step and the exact error message.
- Approximate failure time, including time zone, and a session identifier if available.
- Checks you tried and what happened after each one.
A cropped screenshot of the status or error can help. Keep private reference images, camera footage, passwords and session credentials out of the report. For a credit question, the relevant transaction reference from your account can also help support locate the attempt. Send the report to Live Face Swap support.
When the failed step is resolved, start with a short take. Confirm the moving result, replay and saved file before recording the full version. Open the browser studio.
For slow or unstable moving results, use the session diagnostics guide. To check a particular browser or phone, use the device checklist.