
How to Virtually Try On Clothes with a Webcam
Set up your camera for virtual clothes try-on, recover from blocked browser permissions, choose a garment image, and save a short preview.
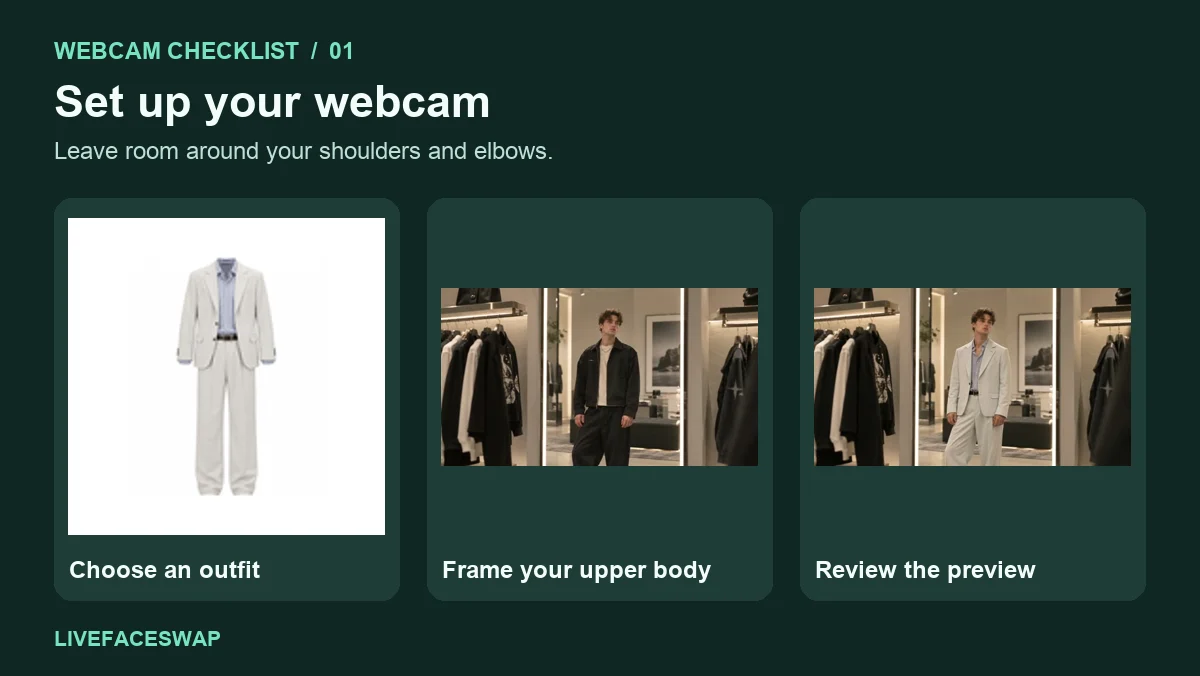
To virtually try on clothes with a webcam, choose a garment reference, open your camera preview, then start the AI try-on. The preview is where you check your framing. Once you start generation, you can see the outfit on camera and adjust your pose while watching the result.
The quickest first test is a jacket or shirt with a clear front view. Use a built-in outfit if you want to check your camera before choosing a reference of your own. This guide walks through the first session and the three problems that can stop it early: a camera prompt that never appears, a permission you previously denied, and a working camera preview that still shows your original clothes.
Open the camera and check what it can see
In the LiveFaceSwap try-on studio, choose an outfit and select Open camera. When your browser asks whether the site can use your camera, allow access if you want to continue. Wait until you can see yourself in the input view. The original camera image is useful here because it shows exactly where the shot cuts off your shoulders, hands, and hem.
For a shirt or jacket, sit or stand so the frame includes the top of your head, both shoulders, and the part of your body the garment would cover. Leave a little extra room for your elbows. For a longer coat or a full outfit, step back and check that you can still see the edges clearly. A wider view gives you room to move, while a closer shot gives the garment more space in the frame.
Fix the camera before changing the outfit
| What you see | What to check | What to try next | | ----------------------------------------------------- | ---------------------------------------------------------------------------------------- | ------------------------------------------------------------------------ | | No camera prompt appears | The browser may already have a permission saved for the site | Check the camera setting for this site, then open the preview again | | You previously chose to block the camera | The site may still be blocked in browser permissions | Allow camera access for the site, then reload if the browser asks | | The browser allows access, but the camera stays blank | The operating system may be blocking the browser, or another app may be using the camera | Check system camera access and close another app or tab that is using it | | You can see yourself in your usual clothes | The input view is working and the AI session may still be waiting to start | Check the outfit selection and the separate Start try-on control |
In Chrome, start with the site controls next to the address. Look for the camera permission for the page you have open. If the browser has access but the picture stays black, check the operating system’s camera privacy settings and confirm that the webcam’s physical shutter is open. With an external camera, make sure the browser is using the device you intended. Chrome camera and microphone permissions
Once you see your own video, stop troubleshooting camera permissions. Switch your attention to the try-on controls and the result panel. On LiveFaceSwap, AI generation requires signing in with available credits. Review the displayed rate and processing notice before starting. Opening the camera preview is a separate step and does not use generation credits. LiveFaceSwap try-on FAQ
Choose a garment image you can compare against
A front-facing image of one garment makes the first run easier to judge. Look for a visible neckline, sleeve ends, and a clear outline. A small thumbnail or a collage gives you fewer details to compare. If the garment is already partly covered by a bag or crossed arms, those hidden details will be harder to assess in the result.
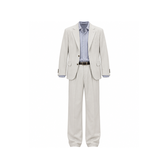
Before generating, pick two features to track. For a jacket, you might choose the lapels and sleeve ends. For a sports top, you might choose the main color and the location of a stripe. Checking the same details after each change helps you tell whether a new reference actually made the look easier to read.
If you upload an image to LiveFaceSwap, use a garment photo you have permission to use. The feature page lists the supported image formats and size limits. You can also select a built-in outfit and use the same camera setup for your next session. Garment upload requirements
Get a clearer result by changing one thing at a time
An illustrated checklist made with built-in sample stills. Use it to prepare your camera and review your own result.
Start with even light on your face and upper body. If a window is behind you, try turning toward it or moving the camera so the light falls from the front or side. Compare the input view before and after. You should be able to see the outline of your shoulders and the boundary between your sleeve and the background.
Start generation from a steady pose. Look at the initial frame, then make one small movement. If you raise an arm, keep your hand and elbow inside the frame. If you turn, stop at a slight angle first and watch the nearer shoulder. A fast turn makes it harder to see which part of the image changed first.
Use the problem you see to decide what to adjust:
- The hem is cut off. Step back or tilt the camera, then check the input view again.
- The color is difficult to judge. Move away from strong backlighting and compare the main color with the reference.
- The sleeve changes when you move. Keep the elbow in view and repeat a smaller motion. Watch whether the change happens when your hand crosses the garment.
- Small details look different. Try a clearer reference and check the same detail in the next run. Expect some variation in generated buttons, logos, and stitching.
If you want to compare with a photo-based preview, keep the outfit and initial pose as similar as possible. This photo and webcam try-on comparison includes a short sequence you can repeat.
Check the input and result side by side
When something looks off, start with the camera view. If your elbow is already outside the input frame, move the camera before replacing the garment image. If your elbow is visible but the sleeve changes only in the generated view, repeat the movement more slowly and check whether your hand crosses the garment. If the same detail looks different even while you stand still, compare it with the reference image at full size.
Write down the change you made before you try again. For example, “same jacket, camera moved farther back” gives you a clear comparison. If you switch the jacket, move the camera, and change the light in the same run, it becomes harder to tell which adjustment helped.
Record, review, and save
Record a short clip once the result is visible. Capture a few seconds facing forward, one small motion, then a return to the starting position. This gives you something you can pause and review at the point where the garment changes. If you want to check sleeve edges, for example, review the frame just before and just after your hand crosses the sleeve.
Use Stop when you’re done generating. Ending a recording and ending the AI session are separate actions. Replay and save the clip before leaving the tab. If you want to try another outfit, finish the current session before switching references. LiveFaceSwap recording guide
For a first run, aim for one clear clip that answers a question you actually have. Does the jacket color work against your background? Does the collar look the way you want in a waist-up shot? Start with that question in the live try-on studio, then adjust only what you need for the next take.