
Multiple Face Swap Video: How to Replace Just One Face
Edit one speaker in a two-person video by isolating their shots, preserving the conversation audio, and checking that the other speaker stays unchanged.
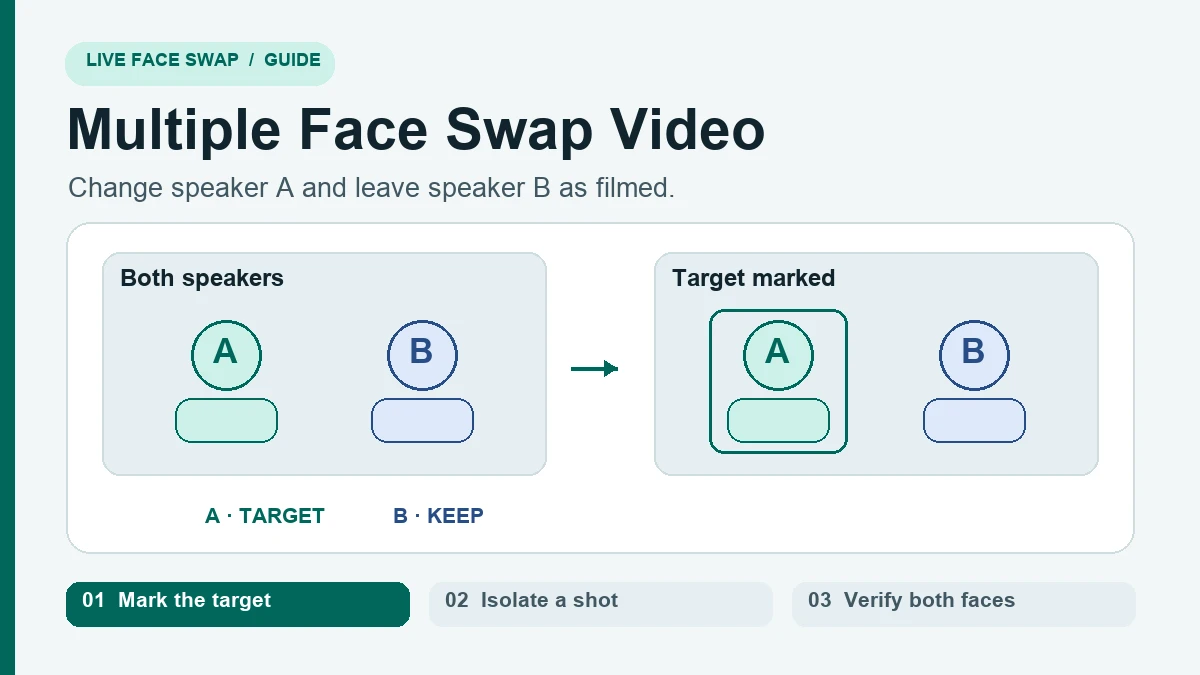
If you only want to change one speaker's face, decide whether the finished shot needs to show both people. When you can cut to a close-up of the target speaker, process that close-up by itself and keep the other speaker's footage. When both people must remain visible throughout the same shot, use a tool that can select a particular face and follow it through the clip.
The Video Face Swap workspace takes one reference portrait and expects one visible face throughout the clip. It can stop during preparation if it detects a second face. It has no picker for choosing between two people in the frame.
Before exporting, write down which of these jobs you have. A dialogue edit may only need a few shots of A replaced. A wide shot may need A and B to stay on screen together while only A changes. A third case has a different replacement portrait for each person. This guide focuses on the first two cases. For the third, look for a workflow with separate identity assignments and inspect each result independently.
A common source of confusion is the term reference face. In a selector, the reference face usually identifies the person to follow in the source video. The replacement portrait supplies the face you want to put there. If you reverse the two roles, you may tune the detector around the wrong person or end up with the wrong appearance.
1. Mark the person and the shots you want to change
Suppose you recorded an interview with permission from both people and want to change only speaker A. Review the original with the audio on. Note when A speaks, where B reacts, and where both faces are visible. Use a name or a visual identifier to mark A in your notes. Left and right can reverse at the next camera angle.
Build a short shot map
Imagine a 24-second interview excerpt. The first six seconds show both speakers, the next eight show A answering in close-up, and the last ten show B listening and replying. If the viewer can see A's original face during the opening, the task is simple: change the middle eight seconds. If A must have the new appearance throughout, the opening wide shot needs its own decision. You can start on A's close-up, replace the picture under the first line with a cutaway that makes sense, or use reference-based selection on the wide shot.
For the eight-second close-up, note the timeline start at 00:06 and the cut back at 00:14. When you check the exported clip, its first frame corresponds to 00:06 and its ending leads into the reaction shot. Preserve the full reply in the original audio. B can be on screen while A is speaking off camera. You do not need to change the face of the person who is visible just because the other voice is playing.
12-second silent diagram showing a marked target, a solo crop, and the same target after the two speakers change sides.
2. Isolate the face for the single-person workflow
Use a real close-up if you have one. If your only angle shows both speakers, duplicate the shot and try a crop in your editor. Scrub the entire crop and check that A's face stays inside the picture, with room to move. Watch for B leaning in, a face in a mirror, and a moment when A exits and another face enters. Check the crop at the size it will appear in the finished video. A tiny face enlarged from a wide shot can still look soft.
Export the isolated segment as a 1–30 second H.264 MP4 up to 32 MB, with AAC audio or no audio. Use a portrait you have permission to use. Follow the MP4 walkthrough to check availability and the credit quote, then review the whole result. If an export fails before preparation, use the codec and file checklist.
Decide whether a crop survives the whole clip
Put the crop on a duplicate of the shot, then scrub from the start to the end. Use the farthest movement of A's head as your guide. Check the moment A leans toward B, then the return. If the crop only works for the opening pose, widening it may reveal B. Tightening it further may cut off A's chin. Look for a shorter stable range or use the solo camera angle if one exists.
Do not assume that all faces belong to the interview. A mirror behind the speakers, an audience member, or a portrait on a monitor can introduce another detectable face. Scan the background as well as the middle of the frame. Check this before spending time on repeated exports. If you intend to keep the original wide framing, a single-face crop changes the composition and may be unsuitable.
When you are happy with the crop, put it back in the edit and check that it works as a deliberate close-up. An abrupt zoom can feel out of place if the rest of the interview uses a wide camera. Match it to the adjacent shots or keep it for a moment where the viewer expects attention to shift to A.
3. Keep the two-shot when the interaction needs it
For a continuous two-shot with both faces visible, look for a workflow with reference-based face selection. For example, FaceFusion documents a reference-based selector, a reference frame, and a similarity setting. Use a reference frame where A and B are easy to distinguish. Test the moment they cross or turn before processing the whole shot. Support for reference selection does not guarantee that the target stays correctly selected in every frame. FaceFusion face selector documentation
Choose a reference frame you can recognize later
When selecting A in the two-shot, use a frame where both faces are clearly visible and A is easy to identify. Keep a note of the timestamp and what each person is doing. If the tool offers a tracking preview, use it to verify the selection before you render. In the sample, you want A to remain the selection even after A walks from the left side to the right.
Start by testing the hardest crossing or the moment when B leans closer to the lens. The first frame can be correct while a later frame assigns the replacement to B. If the error begins after a brief occlusion, review the frames before and after it and try a reference frame where A is clearer. If the workflow still loses the target, use a different angle or avoid the section that requires both faces to cross.
Use a short copy of the same shot for this check. Changing the lighting, reference portrait and tracking settings at the same time makes it harder to learn which choice affects the result. Keep a record of the reference frame and try one change at a time.
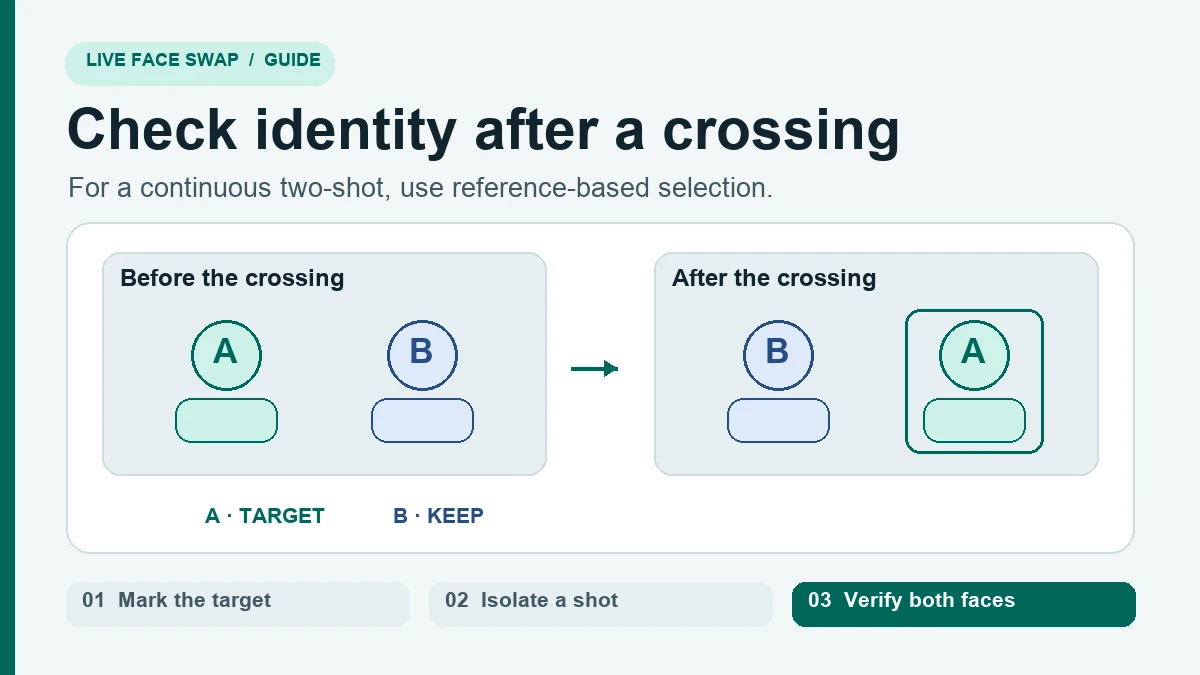
Illustration of the selection you want. The target remains speaker A after the crossing.
4. Check the two speakers separately
Put the replacement shot at its original position. If the edit already has a continuous dialogue track, mute the inserted clip's audio and leave the dialogue track in place. Play through the joins and listen for a duplicated word or changed pause.
- Speaker A. Check the first frame, the hardest turn and the final visible frame. Pause where the face reappears after a hand or another person crosses it.
- Speaker B. Compare the original and export at the same time, especially when B moves closer to the camera. If B changes even briefly, revisit the selection or use an isolated shot.
- The conversation. Watch the full sentence at normal speed and check that reactions still land on the right words.
If A appears in several shots, the shot-by-shot editing guide shows how to keep their positions and original audio intact across the longer edit.
Questions about changing one person
What if I want to keep both faces visible?
Use a workflow with an explicit face selector and review whether it follows the intended person throughout. Cropping to one person works when a close-up is acceptable in the final edit. If two faces are needed in the same frame for the reaction, the selection has to work inside that composition.
What if the tool gets the right person at first and then switches?
Find the first frame where the result changes. Compare the original around that moment for a crossing, occlusion, similar face or cut. A short test around the failure is easier to review than another full render. A frame with clear identities makes a better selection reference than a blurry frame just before two people overlap.
Does changing the face also change the voice?
The video workflow described here keeps the original AAC track when present. If you keep a mixed audio track in the editor, make sure the inserted picture's copy of the audio is muted. Listen where A speaks off camera and where B replies. That confirms the change you made belongs to the picture and the conversation still follows the original timing.