
HEVC to MP4: Convert iPhone Video to H.264 for Face Swap
Find out why a phone video can play but fail to import. Check its actual codec, export a short H.264 MP4 with AAC, and identify where preparation stops.
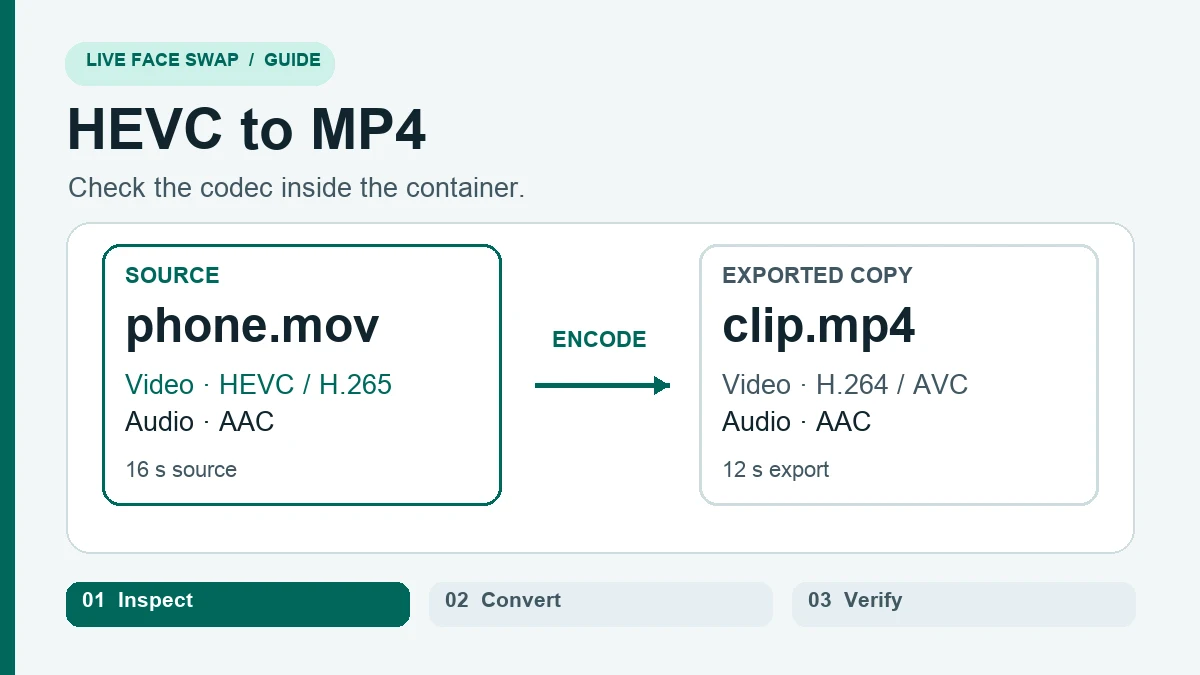
Your phone plays the clip, but the face swap tool rejects it. Check the container and video codec first. A file named clip.mp4 can still contain HEVC video, and renaming phone.mov leaves the original encoding in place. The Video Face Swap workspace expects a 1–30 second MP4 up to 32 MB with H.264 video and AAC audio, or no audio track.
If you are starting from a camera file, first find out what is inside it. HEVC, also called H.265, is a video codec. MOV and MP4 are containers that can hold encoded video and audio. For this workspace, the useful target is MP4 containing H.264 video, plus AAC if you need sound. A converter's MP4 preset can still use HEVC, so check both settings before exporting.
An iPhone recording can play in Photos because the phone understands that recording's codec. The browser workspace still has to decode frames, prepare them for face tracking and encode the result. A media player opening the file is a useful sanity check. It only tells you that the player can read that copy.
1. Identify which step fails
| What you see | Check next |
|---|---|
| The file picker rejects the video | Save a local copy and check the container, duration and file size. |
| The clip plays, but preparation reports invalid input | Inspect the video and audio codecs. A playable preview does not verify the encoding needed for preparation. |
| The workspace reports a face detection problem | Scrub the whole clip for a second face, an obscured face or a subject who is too far away. |
| The workspace reports a browser compatibility problem | Use a recent browser with H.264 WebCodecs support and retry with the same known-good file. |
The workspace asks you to sign in or shows generation is unavailable | Check availability in the workspace. Converting the file does not change account access. |
If the file is only a thumbnail in a cloud photo library, download the actual video before you inspect or convert it. Keep that original so you can make another export without encoding the same copy twice.
Make one short diagnostic copy
Choose a shot that has a stable composition, with one person visible from the start. If your original has several angles, keep the first test under about ten seconds and use one continuous shot. Leave enough room for a complete expression or sentence. A long clip with an HEVC track, a second face and an abrupt cut can fail for several reasons at once. A small control clip helps you separate format problems from tracking problems.
If the file was sent through a messaging app, check the downloaded copy. It may be shorter, softer, silent, or encoded differently from the camera original. For a speaking clip, play the local file with sound and make sure it contains the words you plan to keep. If the source is silent, you can prepare a silent copy and keep the audio option off.
2. Export a short H.264 copy
Open the original in your editor and choose the part you need. For the first check, use a short shot that starts with one clearly visible face. In the export settings, choose MP4, H.264 for video and AAC if you want to keep sound. If the clip is still too large, shorten it or lower the export bitrate. Check the saved file's duration and size after export.
On an iPhone, the Camera settings' Most Compatible format records new footage in H.264. For footage you already shot, create a new export and inspect it before uploading. Apple's HEVC and compatibility guide
What to select in your editor
Look under the detailed export settings for the video codec. Choose H.264, which may also appear as AVC. Choose MP4 as the file format, keep the original aspect ratio, and select AAC for the audio. If there is a choice between source and timeline dimensions, confirm that the preview is the right way up. Reframing a portrait video into a landscape preset may add borders or crop the speaker's forehead. A quick preview in the editor can catch either problem before you encode.
For an oversized file, trim first. If it still exceeds the limit, reduce the export bitrate or resolution one step and check the face at normal playback size. Aim comfortably below the size cap so the exported file fits. A 4K label on the input does not make a tiny face clearer once a shot is prepared for tracking. If you have a closer angle, export that angle before applying heavy compression to the wide shot.
For a portrait HDR recording, confirm the exported copy in the player you actually use. If it looks washed out or unexpectedly dark, check whether the editor converted HDR to SDR and whether the new file still has the intended colors. The command below is for SDR footage. Use the editor's color conversion controls for HDR instead of treating a codec change as a color correction.
12-second silent diagram comparing the codec and audio tracks in a synthetic MOV source and its exported MP4 copy.
3. Verify the new file before retrying
If you use FFmpeg, this example takes 12 seconds from the 3-second mark of an SDR phone clip. It encodes video as H.264 and includes the first audio track as AAC when there is one. Change the start and duration to fit the shot.
ffmpeg -ss 3 -i phone.mov -t 12 -map 0:v:0 -map '0:a:0?' \
  -vf 'scale=1280:1280:force_original_aspect_ratio=decrease:force_divisible_by=2' \
  -c:v libx264 -pix_fmt yuv420p -crf 23 -c:a aac -movflags +faststart clip.mp4
ffprobe -v error -show_entries stream=codec_type,codec_name:format=duration,size \
  -of compact clip.mp4
Look for h264 on the video stream and aac on the audio stream if present. Play the saved clip and confirm that it contains the right action, stays upright, and has the expected sound. The command was checked locally with synthetic clips, including a clip without audio. The check covers encoding and file inspection. FFmpeg documentation
Once the clip is ready, use the MP4 walkthrough for the workspace steps. If you are preparing several shots from one recording, the long-video guide shows how to align them on the original timeline.
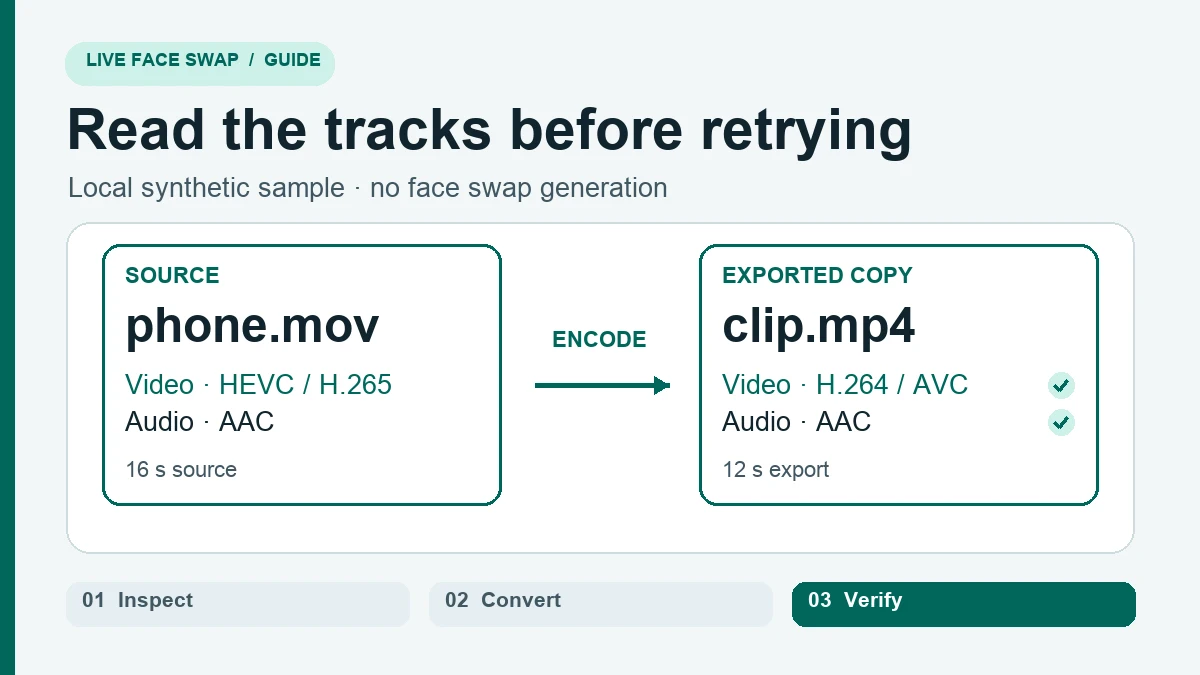
Local encoding check. The output uses H.264 video with AAC audio, and its duration is 12 seconds.
4. Read the result and decide what to fix next
For the local example, the original was a 16-second HEVC MOV with an AAC test tone. The command produced a 12-second MP4 with H.264 and AAC. A separate six-second copy exported without an audio track. Those checks show that the codec changed and the optional audio mapping worked. The graphics use synthetic files and illustrate preparation only.
If the new file still fails, compare its attributes with the workspace checklist. Confirm you chose the new filename. Check the full duration against the 1–30 second range, since a timeline with blank frames at the end can export longer than the visible action. Verify there is one video track and AAC audio if you included sound. Then reopen the copy and watch the full range before trying the workspace again.
If the workspace specifically reports a face issue, keep your newly verified encoding and change the shot. Look for a person entering at the edge, a face visible on a screen in the background, an extreme turn, or a moment where a hand covers the face. Try a tighter or shorter shot with one clearly visible person. The two-person video guide explains when a crop is enough and when you need a tool that can select a person.
If you see a browser compatibility error, try a recent browser that supports H.264 WebCodecs. Use the same verified file so you are testing browser support with a known input. If you see a sign-in prompt or an unavailable message, check access before changing the file again. A file that passes the format checks can still require a different browser, a clearer shot, or access to the workspace.
Common HEVC to MP4 questions
Can I rename a MOV file or use a fast remux?
Renaming leaves the bytes unchanged. Remuxing can change the container while copying its existing streams. That helps when the video is already H.264 and the audio is compatible, but an HEVC video stream copied into MP4 is still HEVC. Check the video codec of the exported file before you try to import it.
Why does the H.264 copy look bigger than the original?
HEVC and H.264 compress differently. File size also depends on resolution, duration, motion and export settings. A higher bitrate can make the H.264 copy bigger even if you shorten it. Check the actual file size after export and keep the clean original for future edits.
Can I keep the recording's sound?
Yes. For this preparation workflow, export the original sound as AAC if your clip has audio. Listen through the saved clip to verify dialogue and timing. When the original clip is silent, export it without an audio track. A newly added music track will become part of the file you hand to the workspace.