
Live Face Swap Tools Compared: Setup, Output and Cost
Compare live-face-swap.net, livefaceswap.ai Desktop and Deep-Live-Cam by documented setup, cloud or local modes, recording, camera output and cost checks.
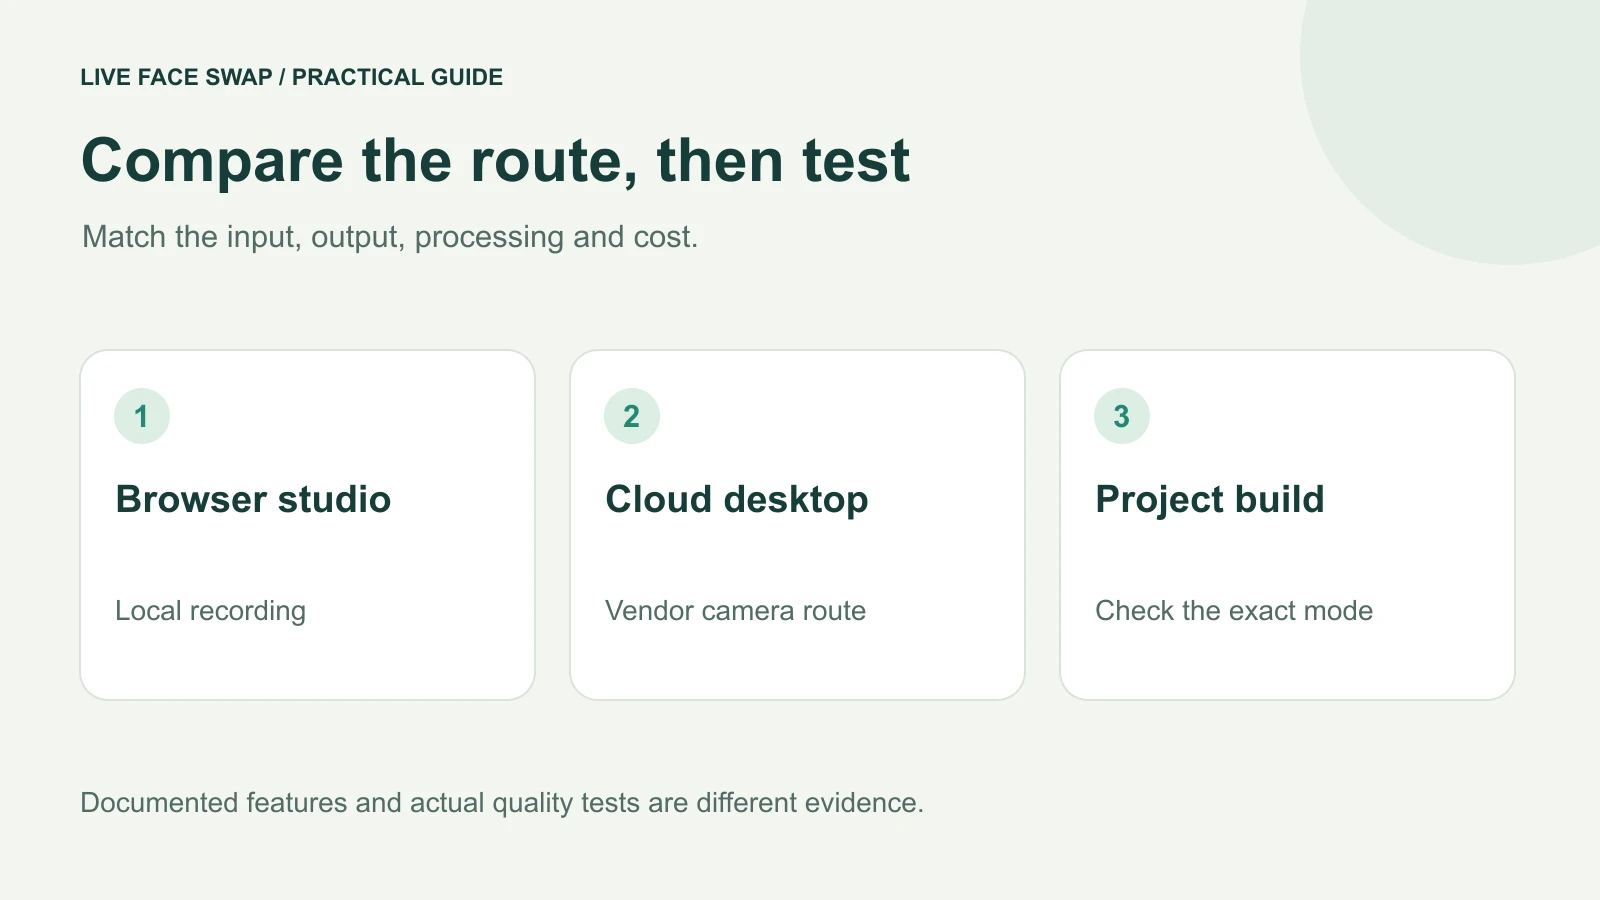
The best live face swap choice depends on the result you need to deliver: a short browser recording, a camera source for another app, or a configurable local setup. Compare the actual tool and mode, then make one short private test in your intended destination.
This guide compares Live Face Swap at live-face-swap.net, the separate livefaceswap.ai Desktop product, and Deep-Live-Cam. It reviews documented setup, processing and output paths as of November 6, 2026. It does not rank their face quality, measure their latency or claim that their paid sessions were tested side by side. Those conclusions require matched recordings.
Compare a workflow, not just a product name
Start by writing one deliverable. “A downloadable character line” is different from “a webcam source selected in a meeting.” Then write the input you have: a live camera, an existing clip or only a reference portrait. A convincing uploaded-video demonstration does not establish live camera support.
Also distinguish the tool's interface from where processing happens. A desktop app can use cloud AI, while a locally configured project can involve downloaded models and hardware-specific dependencies. The browser, desktop and open-source guide explains those categories; the comparison below applies them to named products.
Tool | Preparation | Processing | Output path |
|---|---|---|---|
| live-face-swap.net | Browser studio | Cloud AI | Local clip; Prism result window for OBS |
livefaceswap.ai Desktop | Vendor desktop app | Vendor describes cloud AI | Vendor describes a system virtual camera |
| Deep-Live-Cam | Project build and models | Check selected local or cloud mode | Documented webcam and OBS capture path |
Keep the exact domain and project owner with your notes. Live Face Swap at live-face-swap.net and LiveFaceSwap at livefaceswap.ai are separate products. Their accounts, credits, installers and output features should not be treated as interchangeable.
Live Face Swap: browser recording and Prism output
Our studio at live-face-swap.net starts with a reference and a local camera preview. You sign in, read the engine rate and deliberately start cloud generation. Automatic recording can capture the moving result and optional local microphone audio. End the session and use the recording bar to save the clip.
LFS Prism currently uses 1 site credit per second; LFS Mirror uses 20. Prism performs character replacement, while Mirror's Face Swap mode focuses on the face and aims to preserve the original body, clothing and scene. Mirror also supports Restyle and Try-On. These are task differences, not a quality ranking.
For desktop Prism Face Swap, Open OBS output creates a separate result window to capture in OBS. It is not a system-installed virtual camera. OBS can then handle its own recording, broadcast or virtual camera. Configure audio separately and check the destination preview. Current OBS setup.
The optional Meet extension supplies another route for installed users, but it is not publicly listed in the store yet. The site's download page currently collects desktop interest rather than providing a released installer. Use the browser flow when evaluating this product, and read the rate and reservation guide before testing.
livefaceswap.ai Desktop: a vendor-described virtual camera
This separate vendor describes cloud AI in a desktop app with a system video device named LiveFaceSwap Camera. Its page lists Windows 10/11 and Apple Silicon Macs with macOS 13 or later. It says generation uses credits while running. These are vendor-documented features, not measurements from our test. Official desktop requirements and workflow
For your comparison, check installation, whether the intended calling app detects the camera, the selected model rate and the private preview. Keep those observations with the exact release you installed.
Deep-Live-Cam: check the build and mode
The official project documents webcam mode, local model setup, optional hardware acceleration and OBS screen capture. Manual setup involves dependencies and model files. Check its current instructions and model terms before choosing a build. Official repository
Its 2.7-RC1 announcement also describes a Decart cloud mode requiring an API key. That is a reason to record the exact build and mode rather than label every configuration “offline.” Maintainer announcement
Installation success is only a starting check. Confirm the camera, selected processing mode and destination on your device before deciding that the setup fits your project.
Compare cost using the same finished task
Credits from different services are not a shared unit of processing. Record the displayed rate, the model, any required subscription or API account and the amount actually used for a matched short session. Include startup and retries when those contribute to billing.
A free installer does not imply free cloud generation. A local configuration also involves the device, setup effort and any applicable software or model conditions. Do not infer that one option is cheaper because its credit number is smaller or its interface is downloadable.
For this site's live workflow, reference selection and camera preview add no AI charge. Running the model uses credits, including when you switch tabs. Local recording, replay and download add no separate AI fee. End generation deliberately and distinguish reserved credits from the final settled amount.
If your task is an already filmed clip, use a separate uploaded-video comparison. This site's MP4 tool and GIF tool are different workflows from its live webcam session. Comparing the cost of one with the runtime of the other would mix tasks.
Use one evaluation sheet for all candidates
Choose one authorized reference and a short script with speech, a gentle turn and a held expression. Keep camera placement, light and destination the same. Where different modes change the whole character or only the face, record that difference before judging likeness.
Check | What to record |
|---|---|
| Setup | Exact product, build, OS and mode |
| Startup | Time to first visible moving result |
| Motion | Speech, turn, expression and visible delay |
| Output | Saved file or actual receiving-app preview |
| Cost | Displayed rate, usage and settled charge |
| Stopping | Generation ended; saved clip verified |
Record startup separately from ongoing motion delay. If a panel exposes RTC delay or decoded FPS, keep those labels: neither automatically measures the complete AI pipeline or unique generated frames. A good-looking screenshot is not enough to evaluate a moving performance.
Check the exported file or receiving app, not only the tool's own preview. Listen to a spoken line, inspect the crop and observe what happens when you deliberately stop. Do not broadcast the comparison publicly while you are still discovering which source or microphone is selected.
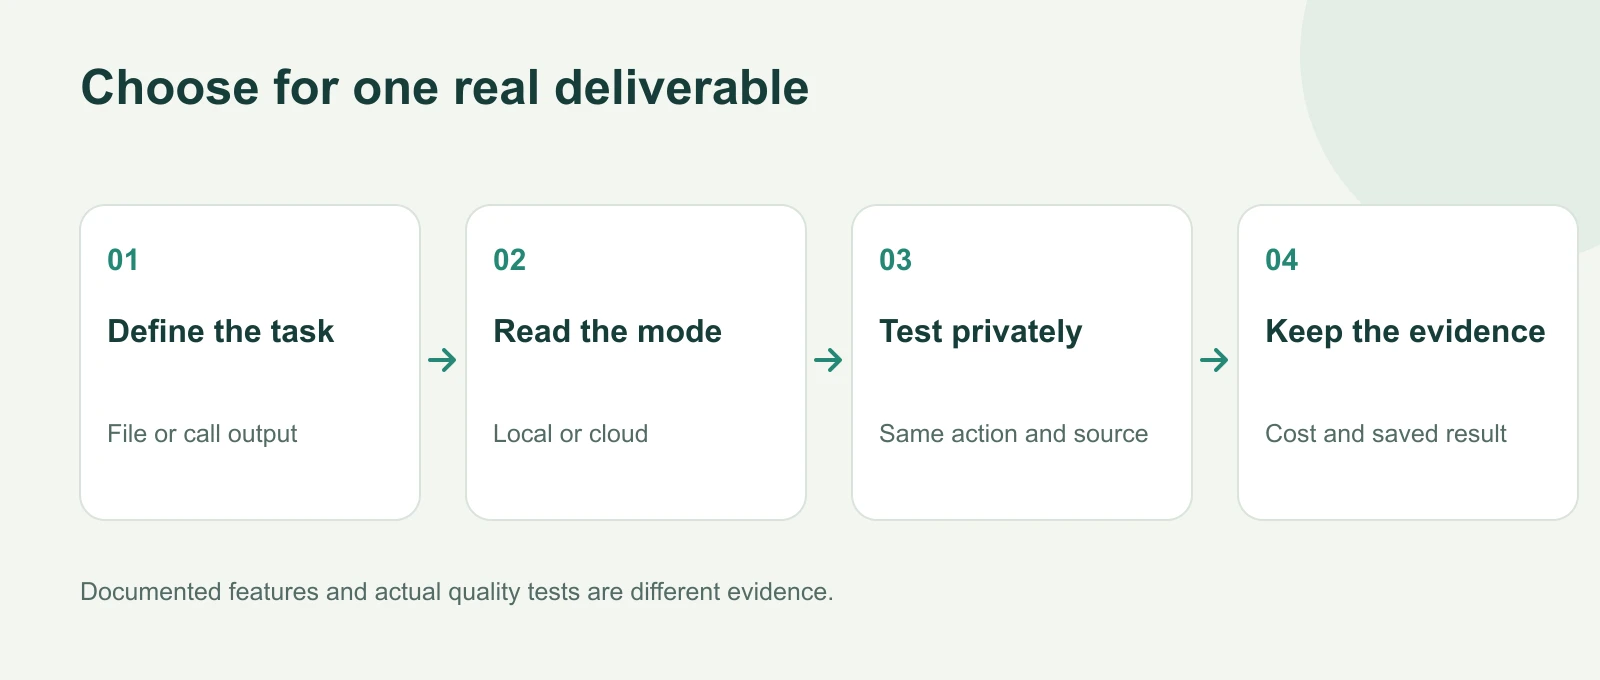
Keep untested quality, latency and compatibility fields marked as untested.
Choose the shortest route to your deliverable
For a browser clip, begin with a short local-preview check, then one brief generated take and a verified download. If it does the job, you have evidence about your own workflow without installing another interface. Inspect expressions and turns before deciding whether a second candidate is worth testing.
For a meeting, prioritize the actual output path. A system virtual camera, a captured browser window and a Meet-specific extension are different routes. Confirm which app can select the feed and which app controls the microphone. A product supporting one route does not automatically support every meeting platform.
For local processing, choose a documented local mode and record the hardware and dependencies. If offline operation is essential, verify that exact configuration after its required downloads rather than relying on the word “desktop.” Check the relevant licensing and processing terms for the material you intend to use.
You can end with a task-specific note instead of a universal winner: “This route produced the file I needed,” or “This setup exposed the camera in my meeting app.” Keep unresolved items marked as untested. The device checklist, diagnostics guide and privacy walkthrough provide the next checks when a candidate falls short.